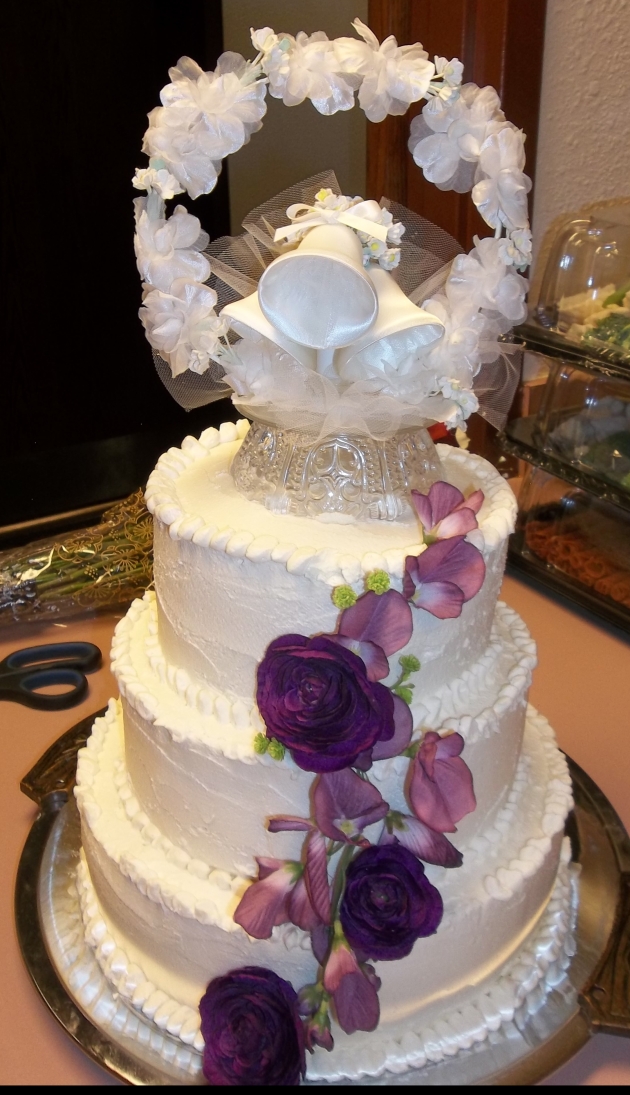
Wedding Cake
I love Frosting! When I was younger I would eat it by the tub… I am sure it contributed to a lot of problems I have had over the years, too. Anyway, when I changed the way I ate I also wanted to keep the things I loved. Although I have found several tasty frosting recipes since starting this journey, I was never able to replace real buttercream frosting. Until now, that is. I found a great recipe at deep roots at home, but I found that I didn’t quite like the consistency, especially if I had leftovers or wanted to make it ahead of time and refrigerate it, so I changed it some to make it the way I wanted it. It is fluffy and spreadable and it tastes great too! It can be refrigerated or frozen, just return it to room temperature, stir and use. I have been using this recipe for about 2 years now and my little girls love it! But the true test comes from those who are not accustomed to eating the way we do. As my girls have grown up eating healthier, they do not fit in this category. But I now have a new test subject… a teenager son from my husband’s previous marriage. I used this recipe on our wedding cake and all the kids loved it… including the teenager who has always eaten sugar laden foods! He even asked me to use it to decorate his birthday cake this year. With one small adjustment – he wanted it to taste lemony so we replaced some of the vanilla with lemon extract and got him exactly what he wanted. He has even been caught sneaking the leftovers for a little snack, LOL.
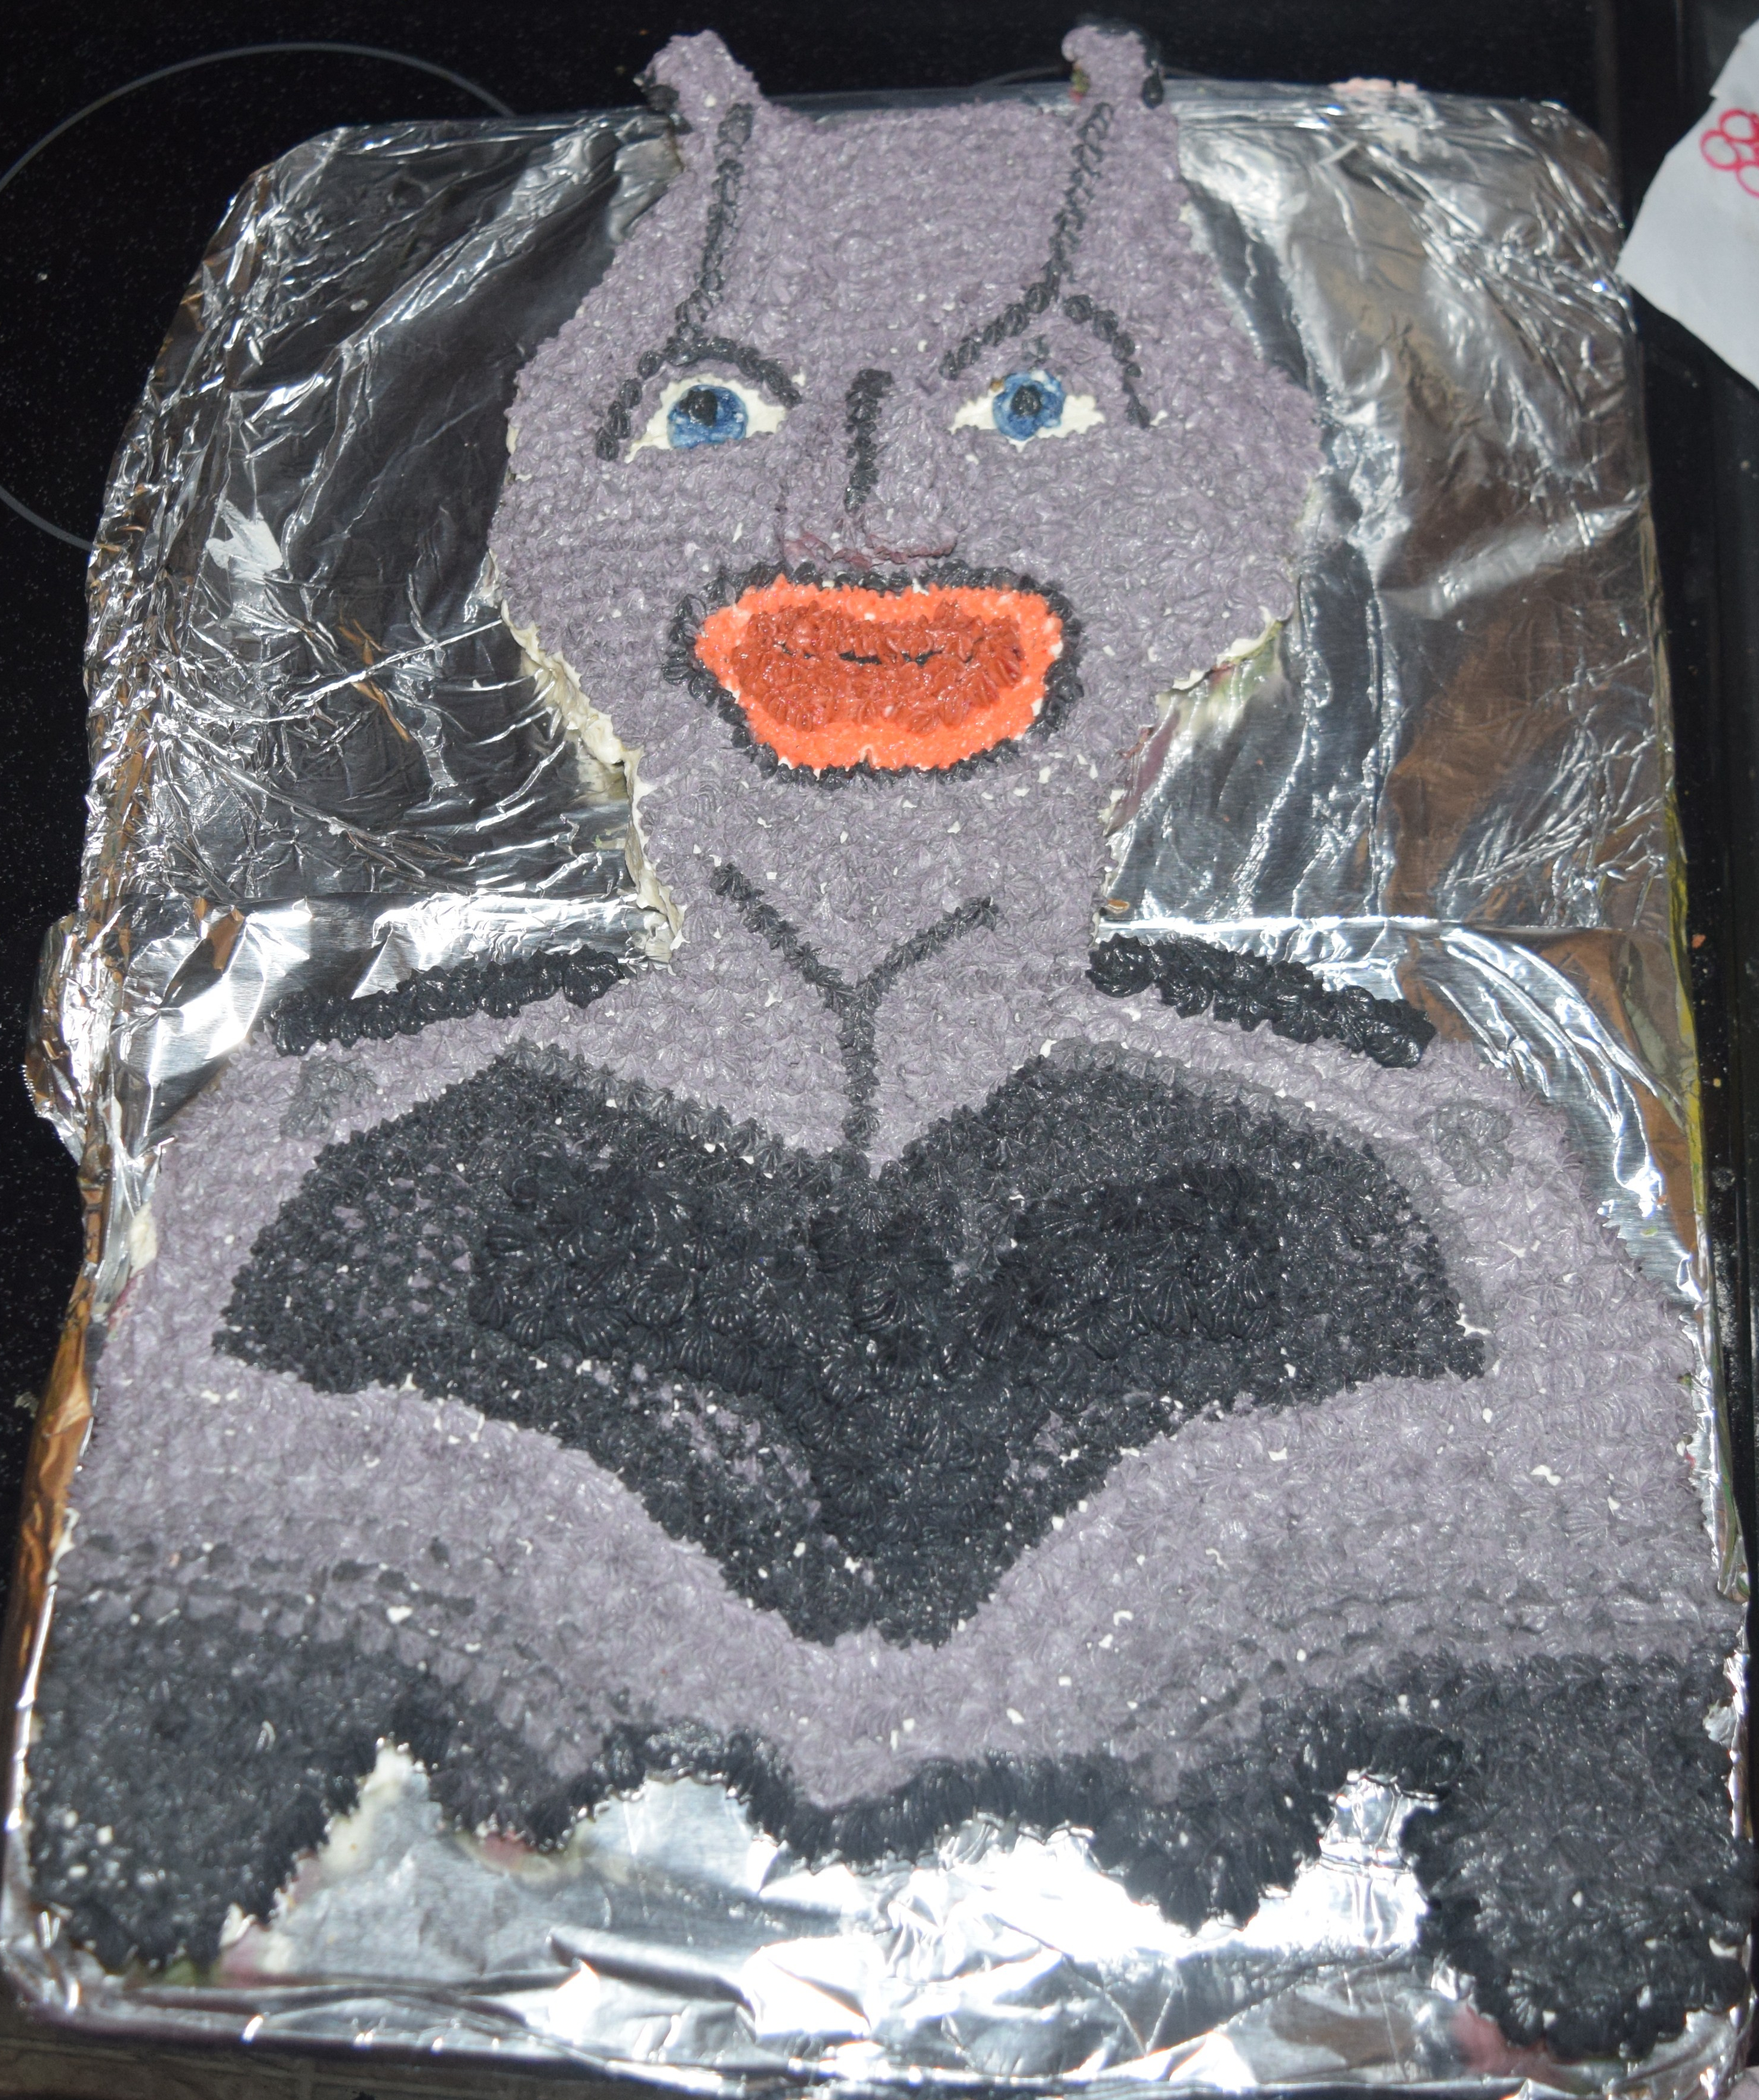
Batman Cake
Without further ado… here is the recipe:
HONEY-SWEETENED BUTTERCREAM FROSTING RECIPE
Ingredients and Directions:
- 1 cup heavy Cream
- 1/4 cup cornstarch
- 1 cup butter, softened
- 1/2 cup honey
- 1 tsp vanilla
- 1 pinch salt (if using unsalted butter)
Put cream and cornstarch into a pan and cook it over medium heat. Whisk well, making sure all the chunks of cornstarch are broken up. Continue whisking until the mixture thickens. Take off heat, transfer into a food processor and let cool. Once the mixture has cooled, blend it in a food processor to make sure it’s as smooth as possible.
In a separate bowl or stand mixer, add butter and beat it for 4 minutes, it will fluff up.
Add honey and beat 4 more minutes.
Add the cooled cream and cornstarch mixture, vanilla and salt (if necessary) and beat 4 additional minutes.
The resulting frosting will be light and fluffy and ready to use. Paste type food coloring seems to work best with this recipe but any type can be used easily.
Enjoy!
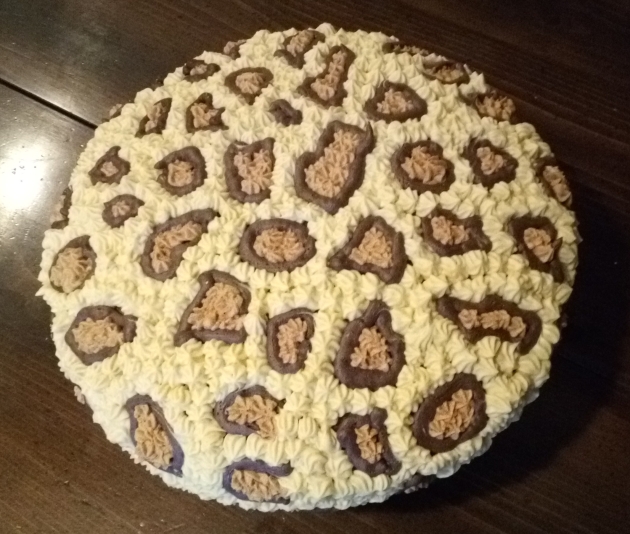
Cheetah Cake

 We found this in a local store and bought it to replace the noodles in some Thai dishes we love. Sadly, they stopped carrying it locally and I needed to start buying it off Amazon. com, which means that that I have to buy it in bulk and we just don’t use it that fast. It sat around for quite some time before I had the idea to use it to replace Ramen Noodles – I SO wish I had thought of it before! Anyway, here you go. I hope you enjoy!


